How to install Magento 2
Magento is an ecommerce platform built on open source technology which provides online merchants with a flexible shopping cart system, as well as control over the look, content and functionality of their online store. Magento offers powerful marketing, search engine optimization, and catalog-management tools. Ref. Wikipedia.
This installation guide will show you how to install Magento 2 latest version on your own server or shared hosting.
Getting started: select solution
There are some solutions we can get started.
- Install from Zip file: Easy installation, no command line.
- Metapackage: Use Composer to install Magento
- Install from Git repository: Contributing developer
In this guide, we will show to how to install as #1 solution. It is easy to get start.
Prerequisites
Before you continue, make sure you’ve done all of the following:
- Set up a server that meets our system requirements
- Created the Magento file system owner
Download Magento packages
Now go to Github to download latest releases for Magento Community Edition (CE).
Download latest samples data here ; Quick download
Upload to your server
Let’s download a zip file and now time to upload it to the server. You can use WinSCP, Filezilla to upload it to the server, then extract it to public_html directory (let’s call it: Magento root directory).
If you are using shared hosting, you can use unzip/exact feature to exact Magento package.
If you are running on your server, let follow the commands:
| File format | Command |
|---|---|
| .tar.gz | tar zxf <filename> |
| .zip | unzip <filename> |
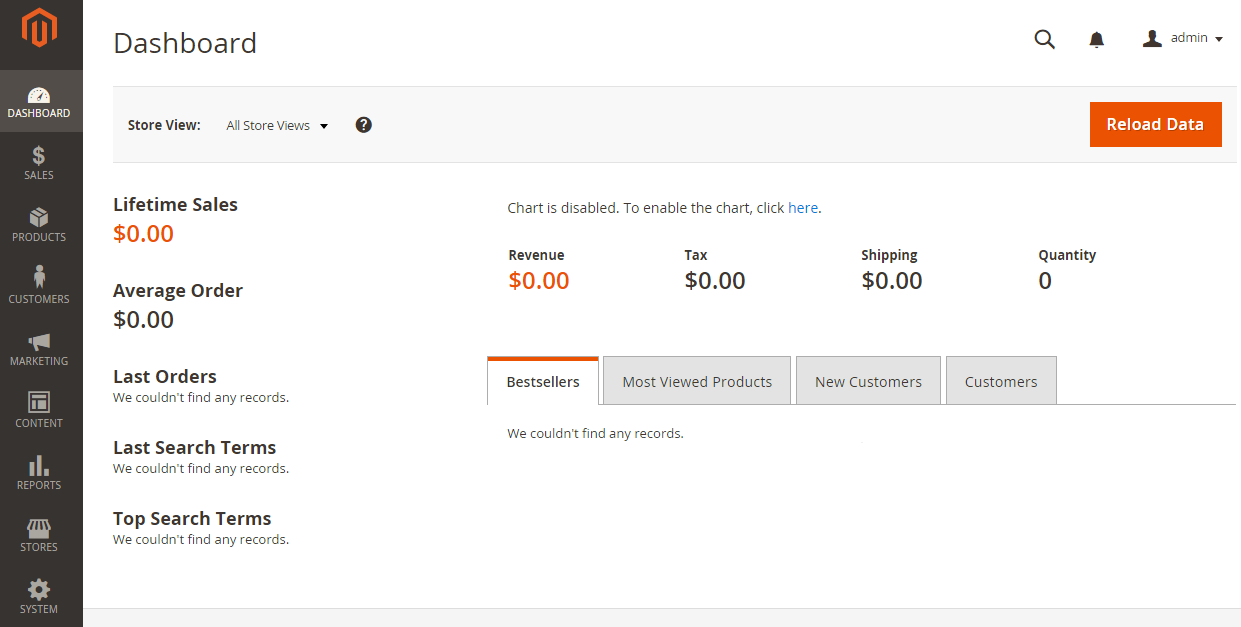
Running the Setup Wizard
The Setup Wizard is a multi-page wizard that enables you to go back and forward one page at a time. You cannot skip pages, and you must enter all required information on every page before you can proceed to the next page.
- Enter the following URL in your browser address bar:
http://your-domain.com/setup
- On the initial page, click Agree and Set Up Magento.
Continue with the following topics in the order presented to complete the installation.
Step 1: Readiness Check
- Click Start Readiness Check.
If any errors display, you must resolve them before you continue. Click More detail if available to see more information about each check.
Click Next
Step 2: Add a Database
Fill database information then click Next
Step 3: Web Configuration
Enter the following information:
- Your Store Address: http://www.example.com
- Magento Admin Address: Enter the relative URL by which to access the Magento Admin. e.g: admin
Then click Next
Step 4: Customize Your Store
- From the Store Default Time Zone list, click the name of your store’s time zone.
- From the Store Default Currency list, click the default currency to use in your store.
- From the Store Default Language list, click the default language to use in your store.
- Expand Advanced Modules Configuration to optionally enable or disable modules before you install the Magento software.
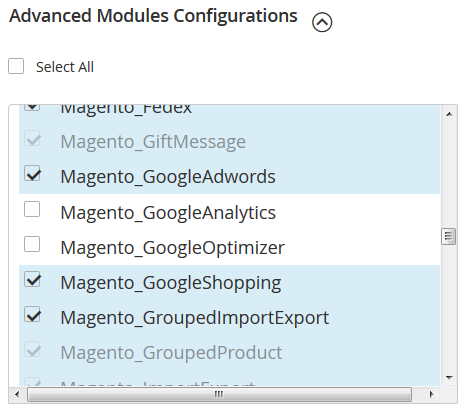
- Click Next
Warning
Use Skip dependency check for individual modules with caution. We recommend against it because a typical reason for this error is you manually edited the deployment configuration. Editing the deployment configuration is not recommended because future Magento software updates can undo your changes.
Step 5: Create Admin Account
Now enter admin information such as
- New Username
- New E-Mail
- New Password
- Confirm Password
Then click Next